This is part 2 of my beginner’s quilt guide where we’ll be making a simple 90-square pink quilt. In part 1, we selected our fabrics, arranged them and organised them ready for piecing.
Now we get to start sewing!
Setting Up A Place to Sew
I sew at the dining table, which gives me enough space to have my fabrics, pins, scissors and more within easy reach, plus a plug socket nearby for the sewing machine.
You really don’t need a fancy quilting sewing machine (although they can make things easier when you tackle larger/more complex quilts). As long as your sewing machine can sew a simple running stitch, that’s all you need.
For thread, I selected a simple light pink thread. It’s important you pick a light-coloured thread as dark threads will show through the light fabrics and ruin the effect once the quilt is finished. Any standard cotton or polyester thread will do.
Set up your sewing machine with a bobbin and thread in a matching colour.
You’ll need scissors nearby for snipping threads and, if you’re anything like me, a huge mug of tea to power you through.
This guide to setting up a sewing machine and making those first stitches will be super helpful if you’re brand new to sewing using a machine.
Piecing Your Quilt Front
Sewing together the quilt pieces is called piecing.
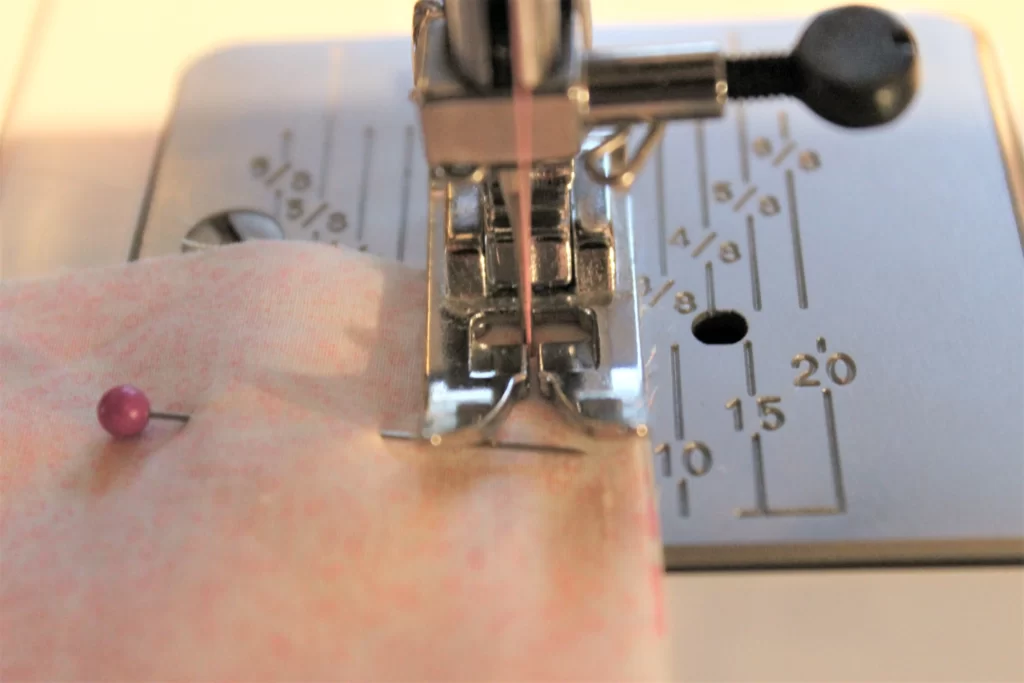
I always start with a test. Using 2 squares of fabric that didn’t make the final design, I pin them together and sew along one edge. I am using the edge of the sewing machine foot (the metal component that holds your fabric down) as a guide, as it’s exactly ¼ inch wide.
Looking closely at the stitches, I can see that the thread tension is perfect – the stitches on both sides of the fabric are identical. If they’re not, you might need to change your needle, adjust the thread tension or pick a different thread. Adjusting settings on a sewing machine is far far far easier to learn via a video, so don’t hesitate to search YouTube for help again.
Now we can start to sew our actual quilt pieces.
Sewing The Pink Quilt Squares
I’ve broken it down into many baby steps to guide you through.
1. Pick up the first square from the first row and the second square from the first row.
2. Place them next to each other, just like how they were when we laid them out on the floor.
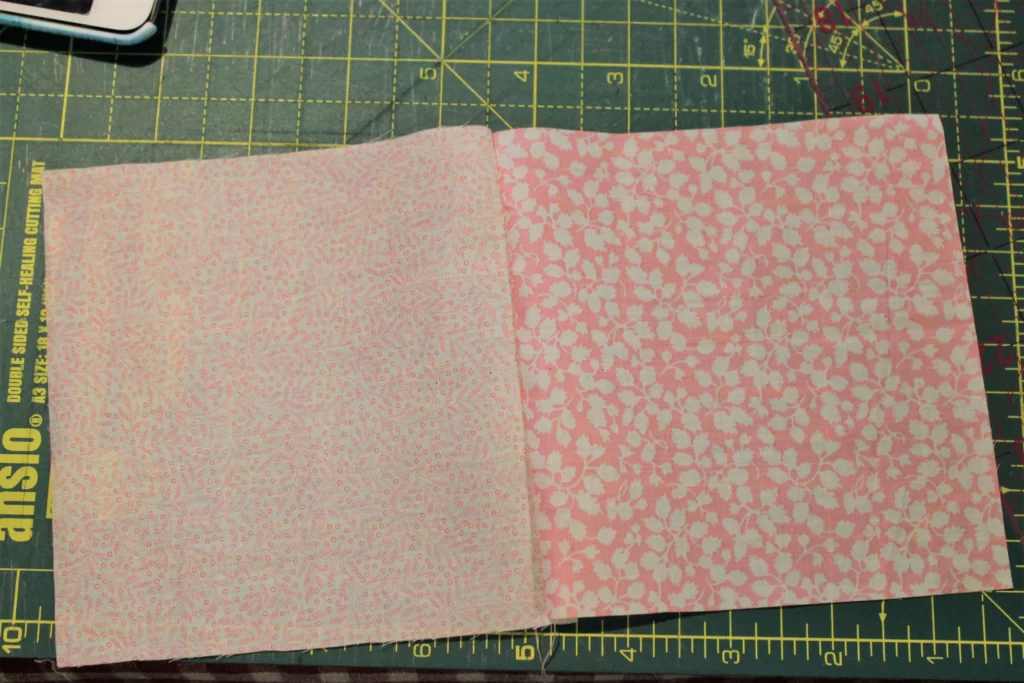
3. Like closing a book, flip square 2 over square 1 so the good sides are pressed together.
4. Pin along the side of the square that we’re going to sew (the spine of our imaginary book), placing your pins horizontally.
5. Double check that you’re sewing the right sides together and you’ve pinned along the right edge by opening up the fabric.

6. Place it under the needle and press the foot down so it’s exactly in-line with the edge of the fabric.
7. Twist so the needle is downwards through the fabric, and slowly start sewing.
8. Guide the fabric so it goes under the needle straight and adjacent to the edge – but don’t force it through or you’ll skip stitches. Let the feed dogs (those rough bumps underneath the fabric) pull the fabric through naturally.
9. Every time you reach a pin, stop sewing, remove the pin and take a look at your stitching so far to make sure everything is going as it should.

10. Sew right down to the other corner and stop when the needle is in an upright position.
11. Lift the foot, pull away your fabric and snip the threads with your scissors.
Voila, you’ve pieced together your first 2 squares.
Sewing Rows
Now you’ve learnt the steps to sew one piece of fabric to another, you simply repeat.
Open up the 2 pieces you’ve sewn together and place them down in front of you. Pick up the third square in the row and place it next to them just like how it was laid out on the floor. Flip it onto the second square like closing a book again with the right sides together.
Sew it together and open. Next, pick up the 4th square in that row…

It’s very simple to do once you get to grips with it. Do this for each row until you have 10 long strips of fabric.
Take them to your ironing board and iron the backs of them, holding the seams open like I’ve shown.

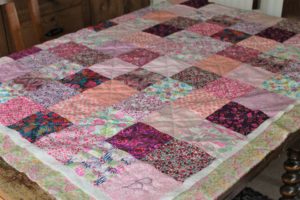
Completing the Pink Quilt Front
With your 9 rows of fabric (still numbered so you remember the order) you need to start sewing them together to create the quilt top.
Lay out row 1 with row 2 underneath it. Like closing a book, flip row 2 over row 1 so the good sides are pressed together.
Pin them together, placing one pin where each seam meets. This will help you keep your corners as neat as possible. Slowly sew down the row just like you did with the single squares. Once done, open it up and place row three underneath. Flip and sew. Add row 4. Flip and sew.
Don’t worry too much if the ends of each row don’t quite meet up (these are covered by the binding) it’s more important that the corners meet up in the centre of the row – that’s why I start pinning from there.


Extra Sewing Tip: to help keep things neat, sew in alternating directions. For sewing row 1 to row 2, start where the paper pin is and sew down. For sewing row 2 to row 3, start from the unpinned edge and sew up to the paper pin edge. This keeps the pink quilt top square, as every time you sew the sewing machine can push the rows apart slightly and you can end up with a parallelogram.