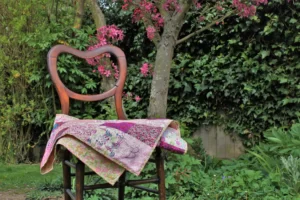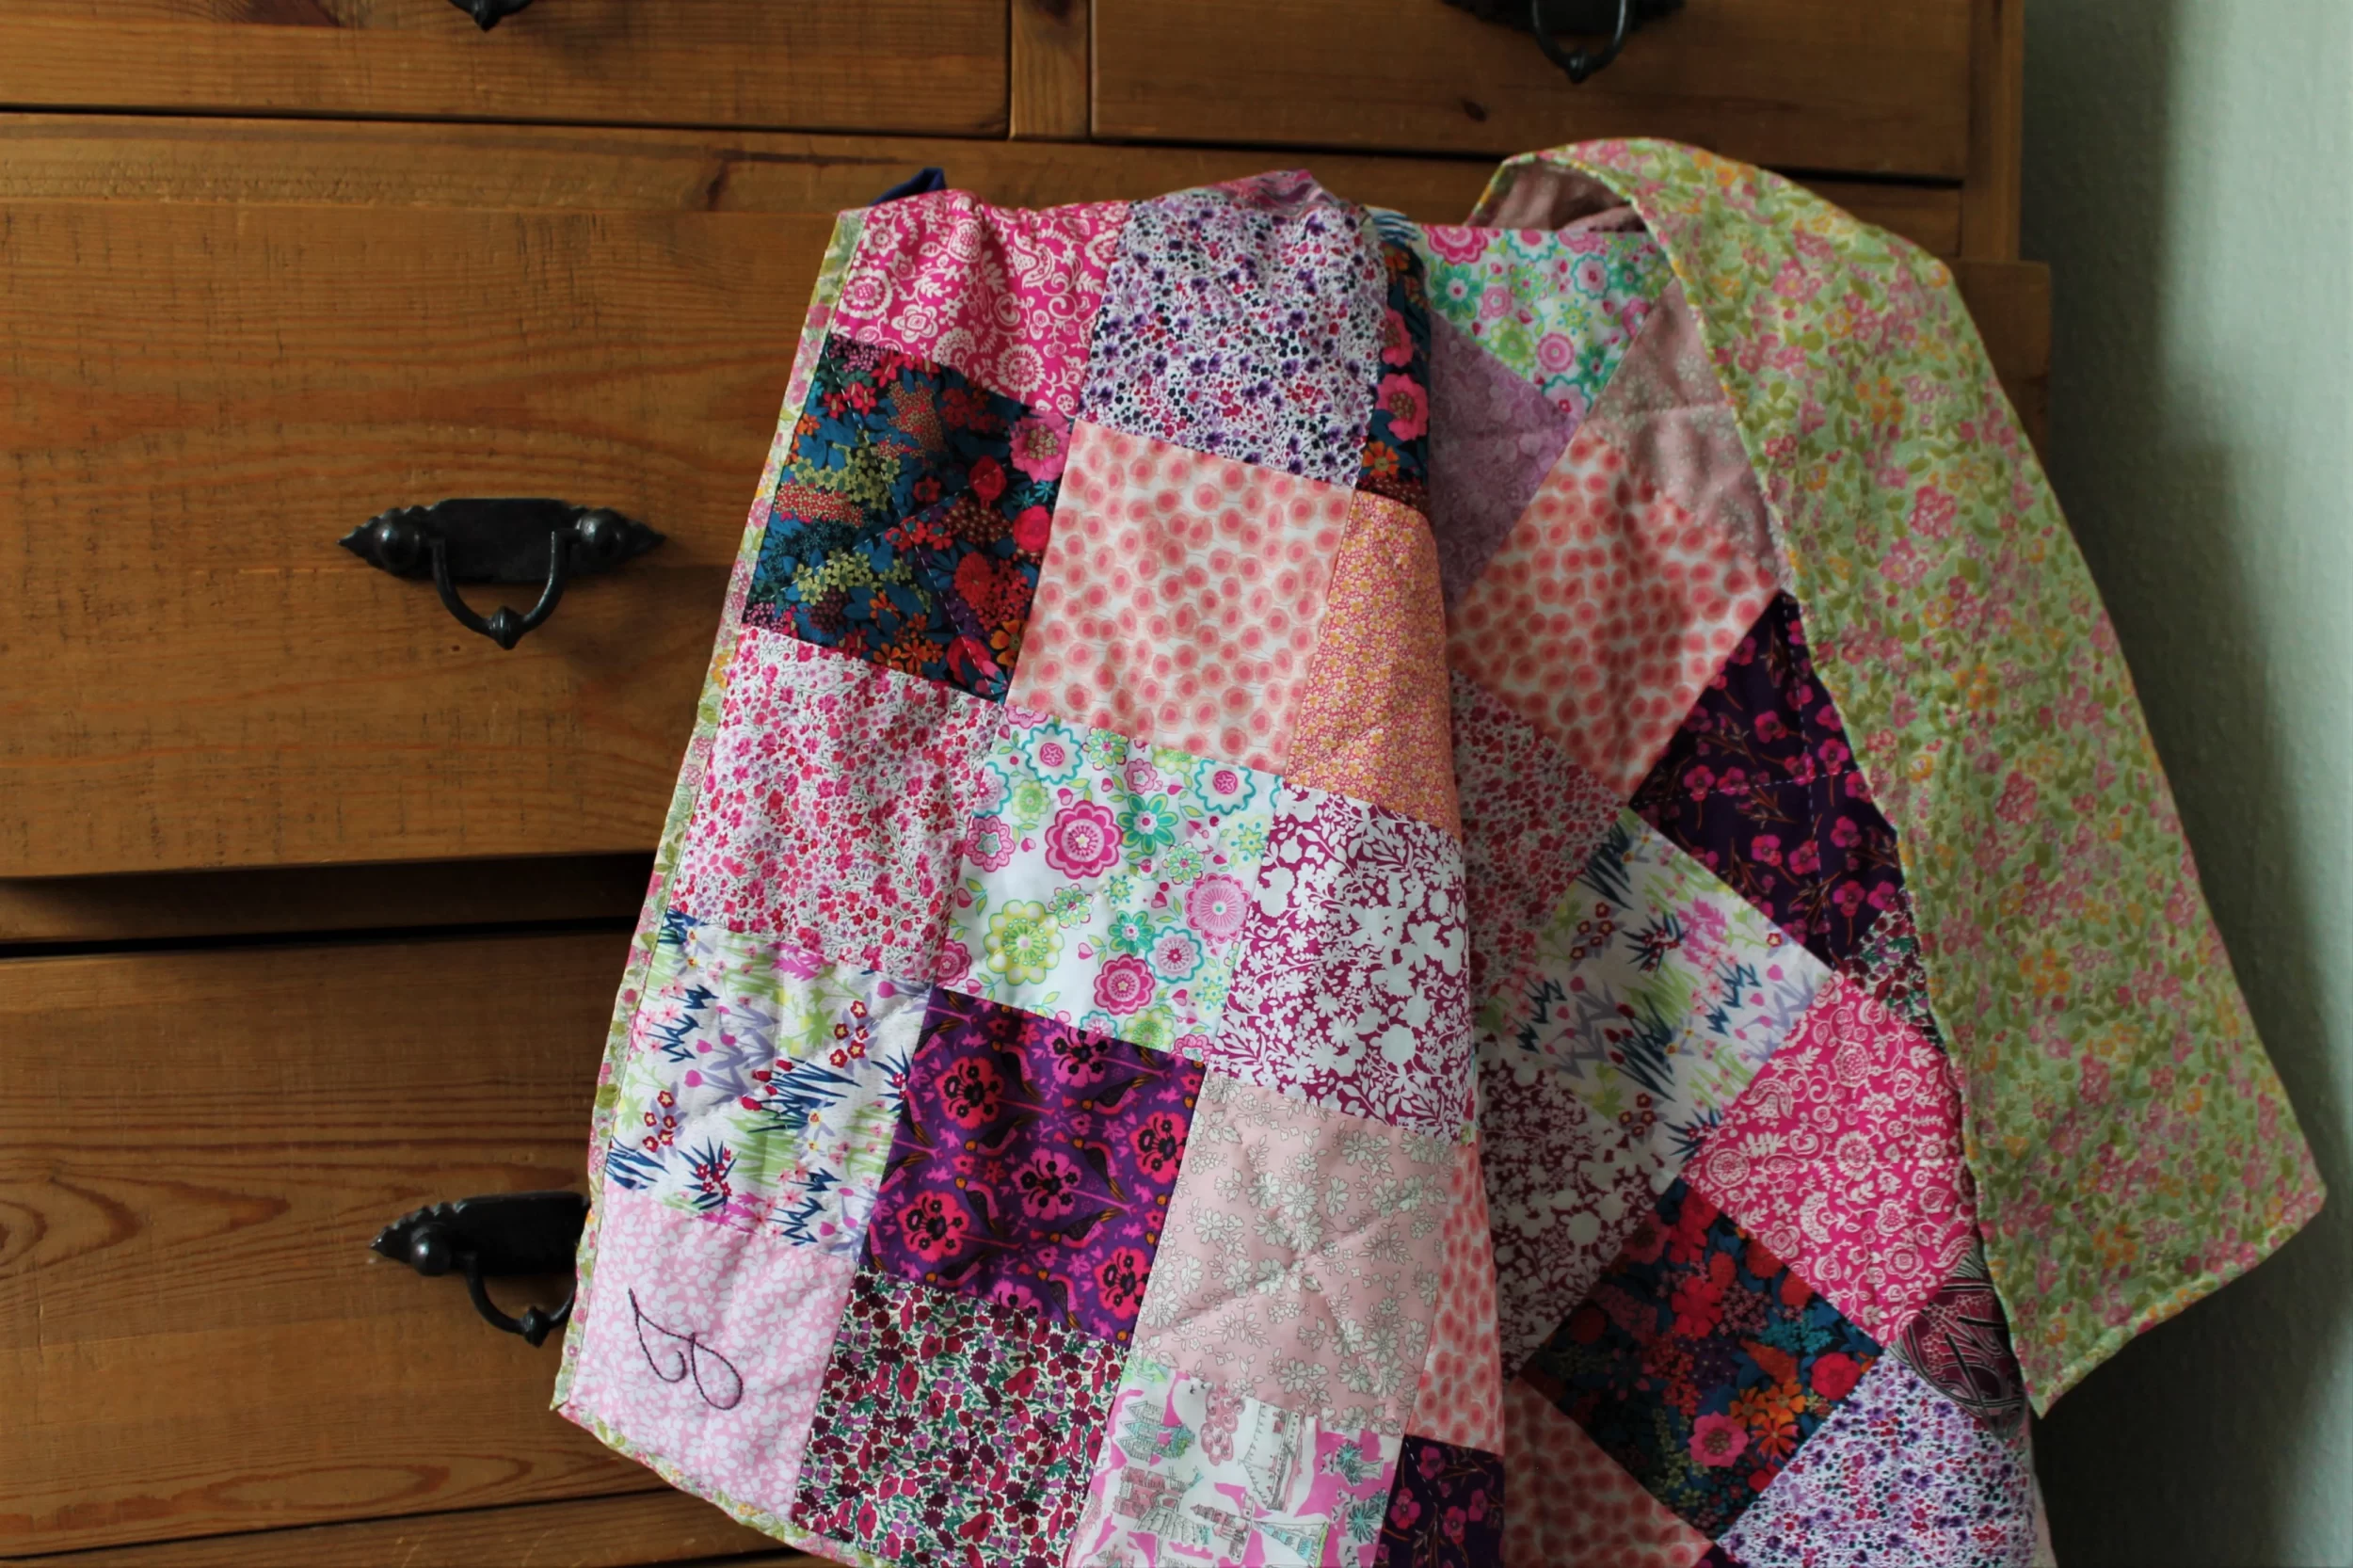
Jean is my beloved grandmother and this year, 2019, she turns 90. I’m putting my sewing skills to work and creating a beautiful birthday quilt to celebrate, with 90 fabric squares and an embroidery initial to add a personal touch.
What a great opportunity to record my progress and create a birthday quilt guide!
Anyone, Even Complete Beginners, Can Make This Birthday Quilt
There were so many things about my first quilt that went wrong. I used different fabric types, some of which stretched, and I didn’t cut them accurately. Then I stitched some the wrong way up. And finally, I hand-quilted it and left a mortifying number of loops and knots showing on the back.
If only I had a guide like this when I started out!
This birthday quilt design strips everything back to basics. Instead of plunging you in the deep end of rotary blades, calculating finished quilt sizes and attaching bias binding, we’re going to focus on just a few quilting skills.
Essentially, quilting is the art of sewing small pieces of fabric together to make one large piece of fabric. That’s what this quilt guide focuses on and once you’ve mastered the absolute basics, you can move on to all kinds of quilt designs with confidence.
What Do I Need to Make This Quilt?
If this is your first time quilting, the most important things you need are patience, time, a little money and a lot of forgiveness. When you’re making a quilt, things do go wrong. Corners won’t quite meet up and you’ll get frustrated before you reach that “quilters high”. But try not to stress – those little things will add charm to your quilt. People love that slightly rough, homemade feel and you should feel proud and happy with what you accomplish.
Beside a positive mental state, you may need to buy:
- A sewing machine (you really don’t need a special expensive quilting sewing machine)
- Needles for your machine and 1 needle for hand quilting and embroidery
- Simple cotton or polyester thread for sewing fabrics together
- Sturdy quilting thread for hand quilting (I use Gutermann quilting thread)
- Thick embroidery thread (I use DMC threads)
- Pins, post-it notes, fabric scissors and a pencil
- 90 squares of fabric for the front, pre-cut
- One large piece of fabric for the back
- One large piece of padding for the middle
We’re going to be using pre-cut fabric squares for the quilt, removing the need to cut fabrics. Not only does this speed up the whole project but it means, as a beginner, you’re starting with a selection of perfectly sized fabrics all of the same density. That’s going to make learning your sewing skills 10x easier.
Choosing Fabrics
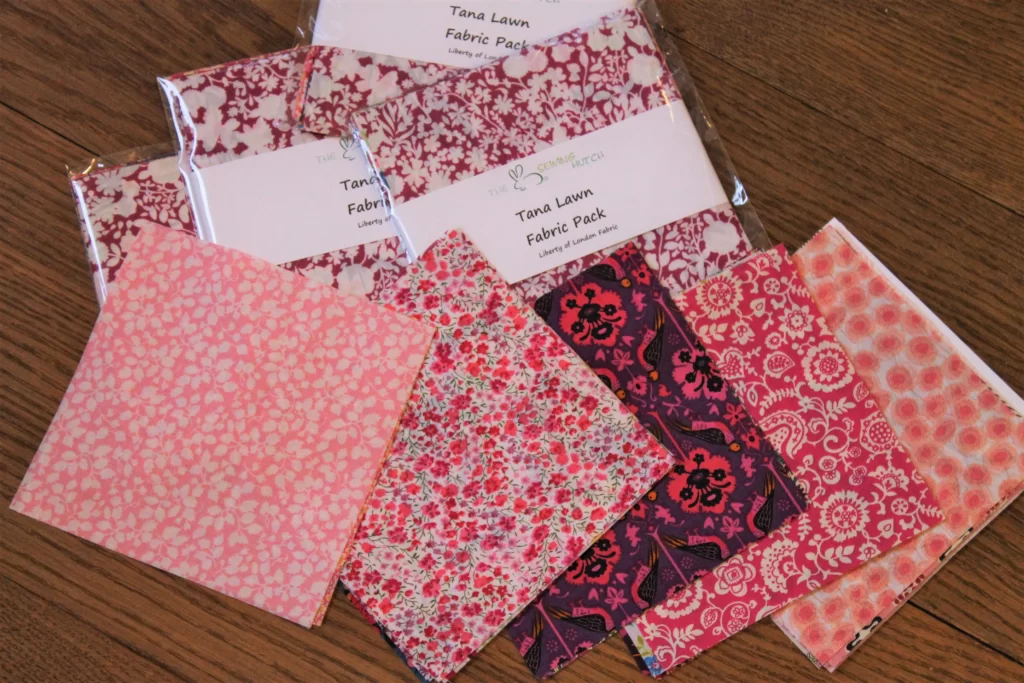
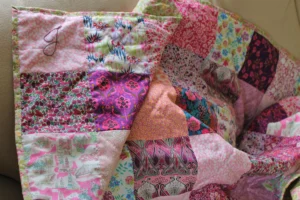
You need 90 squares of fabric for the front. I selected some pretty pink fabrics that I thought my Gran would love from the Liberty Tana Lawn collection. These squares are called charm squares and are all exactly 5 inches x 5 inches. The fabric itself is very thin and silky soft, so perfect for a light summer quilt.
You can find these exact pink liberty fabric squares available at The Sewing Hutch on Etsy.
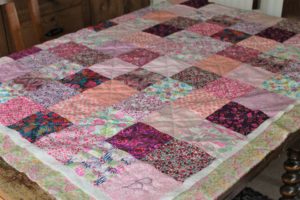
We’re going to sew 10 rows of 9 squares with a ¼ inch seam (sounds intimidating but it’s simple when you start sewing), so the final quilt front size will be 40.5 inches wide and 45 inches long.
Using those figures, you can calculate how much backing fabric and padding you will need.
I purchased 1.5 metres of 100% cotton padding from Billow Fabrics. This is more than I needed but it’s good to have some spare. I like how this padding is thin for a summery quilt feel and completely free of chemicals and bleach (although that does mean you need to wash it before use following the instructions from the manufacturer).
For the back, I purchased 1.5 metres of Liberty Tana Lawn ‘Prince George A’ fabric from Alice Caroline. This is also going to be the binding fabric, as I’ll show you how to fold over the back around the edge. It’s a great way to simplify the binding process and start to understand mitred corners without getting overwhelmed.
Money Saving Tip: fabric can be expensive. If you’re cutting up old clothes to use, make sure they are all non-stretch. For the backing fabric, you can buy colourful bed sheets on Amazon for a fraction of the cost of ordering designer fabrics by the metre.
Laying Out the Birthday Quilt Design

First step is to unpack your fabrics and marvel at how beautiful they are! Then put aside the backing fabric and padding so you can focus on the 90 squares for the front.
Start placing them on the floor (they’ll stick well to carpet, or you can take off your bedding and use your mattress as a piecing platform if you don’t have the floor space) in a pleasing arrangement.
I started by simply placing each square down one after the other until I had 10 rows of 9 squares. Then I began re-arranging them so all where facing one way (look at the direction the flowers are growing) and there weren’t too many of a similar colour in one place.
There’s a lot of back and forth at this stage. Try squinting at the quilt so the colours blur together and you can pick out areas that are too dark or too light. Walk around the quilt too – seeing it from a different angle can completely change your perspective.
We are going to be embroidering the top left square, so make sure the fabric in that slot will work well with your embroidery thread. I’ve placed a light pink square there to contrast with the mauve of my embroidery thread.
Picking Up Your Fabric and Preparing to Sew
Before you do ANYTHING else, take a photo of the fabric all laid out! There are times when my carefully stacked fabrics are moved around, knocked over by the cat or just misplaced. When this happens, you’ll be glad you have a photo to show how they should be arranged.
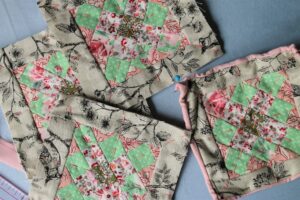
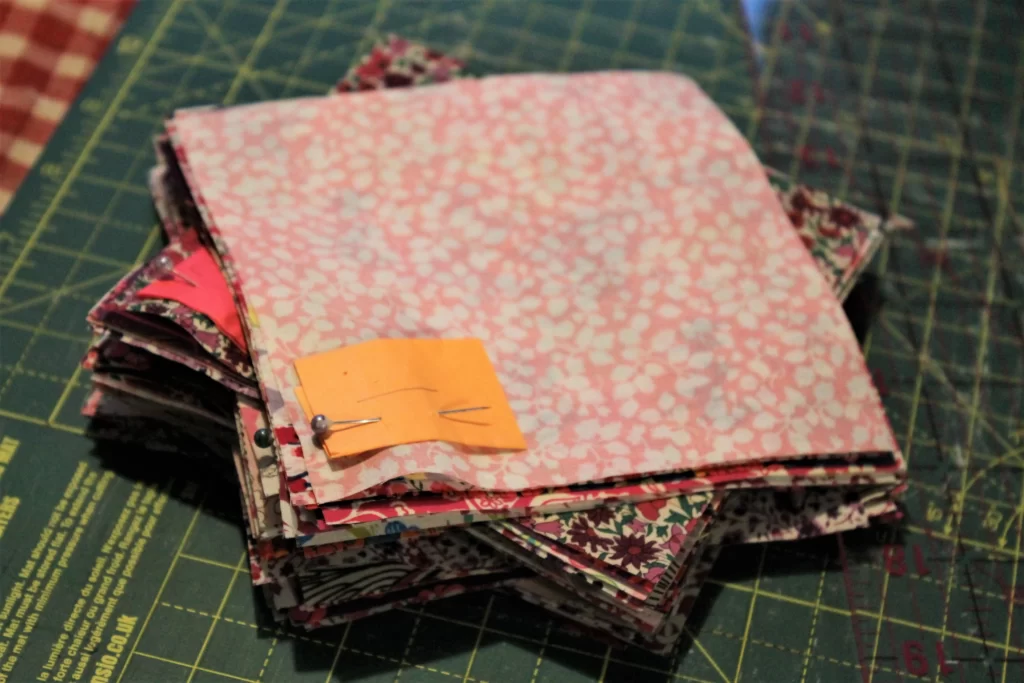
I tear up post-it notes and number them 1 to 10. Then I pin a number to each row in the top right corner, going from 1 down to 10.
Next, we pick them up. Start with the top left corner, pinned with a number 1. Place it on top of the fabric piece directly to the right. Then pick up both those pieces and place them on top of the fabric to the right. Keep going until the entire 1st row is in a neat pile.
Do the same for the remaining 9 rows, until you have 9 piles of fabric each with the numbered fabric on top.
With number 10 at the bottom, pile up your smaller fabric piles at alternating angles until you have one neat pile of fabrics. This gives you freedom to move around your fabric, store it until you’re free to start sewing, and not worry about losing any.
In part 2, we’re going to start piecing the fabric to create the birthday quilt top!