Learning how to brew loose leaf tea is easier than you think. If you can make tea with a tea bag, you can definitely make loose leaf tea – the process is almost identical.
Many people assume you need expensive equipment or complicated techniques, but that’s just not true. You can brew delicious loose leaf tea with simple tools you probably already have, or with inexpensive infusers that cost less than a fancy latte.
In this guide, I’ll show you 5 easy methods to brew loose leaf tea, from beginner-friendly single-cup infusers to traditional teapot methods. Each method takes the same amount of time as brewing a regular tea bag.
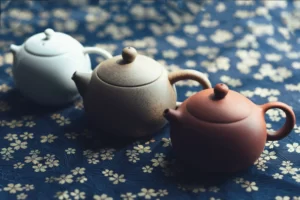
Why Choose Loose Leaf Tea Over Tea Bags?
Loose leaf simply means the leaves and ingredients are loose. They’re exactly the same as the tea in teabags except they aren’t chopped up as much, or at all.
Loose leaf is superior – but that doesn’t mean it’s snobby. Loose leaf has a better flavour because the leaves are whole and retain their tea oils and natural flavours. I explain in a bit more detail why loose leaf tastes brighter than teabags in this article about sprucing up your tea.
Quick Start: Basic Loose Leaf Tea Brewing Steps
- Use 1 teaspoon loose tea per cup
- Water temperature: Boiling for black tea, 80°C for green tea
- Steep 3 to 5 minutes for black tea, 2 to 3 minutes for green tea
- Remove tea leaves to prevent over-brewing
Now let’s look at the 4 easiest methods to do this…
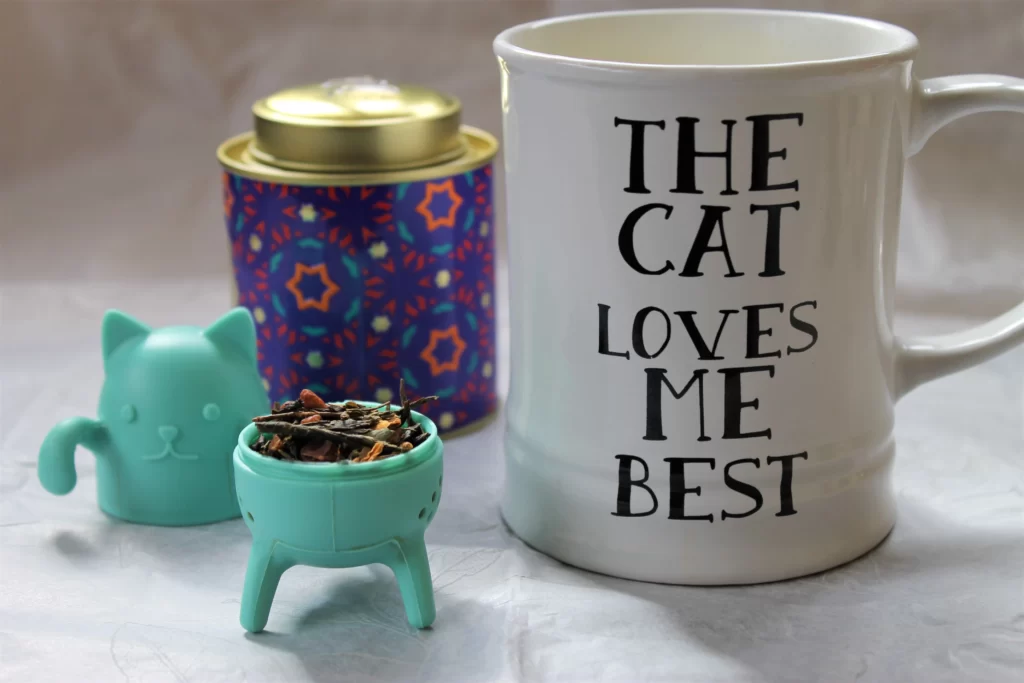
Method 1: Single Cup Tea Infuser (Easiest for Beginners)

- Best for: an occasional cup of tea with a dash of whimsy
- Equipment needed: silicone infuser, mug, tea
- Approximate cost: under £5
Meet Stewart (get it) my loose leaf cat infuser. This silicone infuser is hands-down the easiest method of brewing loose leaf tea, and it’s very easy to get your hands on a variety of cute infusers.
Open up the infuser, add your loose leaf tea (2g or approximately 1 teaspoon). Close the infuser, making sure the silicon lips are firmly sealed together. Clip him over the side of your mug, then fill your mug with boiling water, or 80°C for green teas. Remove the infuser when you’ve reached the optimum brew.
You can find many simple silicone tea infusers on Amazon, but if you want my recommendation, go for one with a long “handle” so it’s easy to remove from even the deepest mugs. This Cat Tea Infuser is perfect.
Pros
- Cheap and fun!
- Won’t rust
- Easy clean up (dishwasher safe)
Cons
- Limited space for tea leaves to unfurl
- Can warp out of shape
- Not suitable for multiple servings
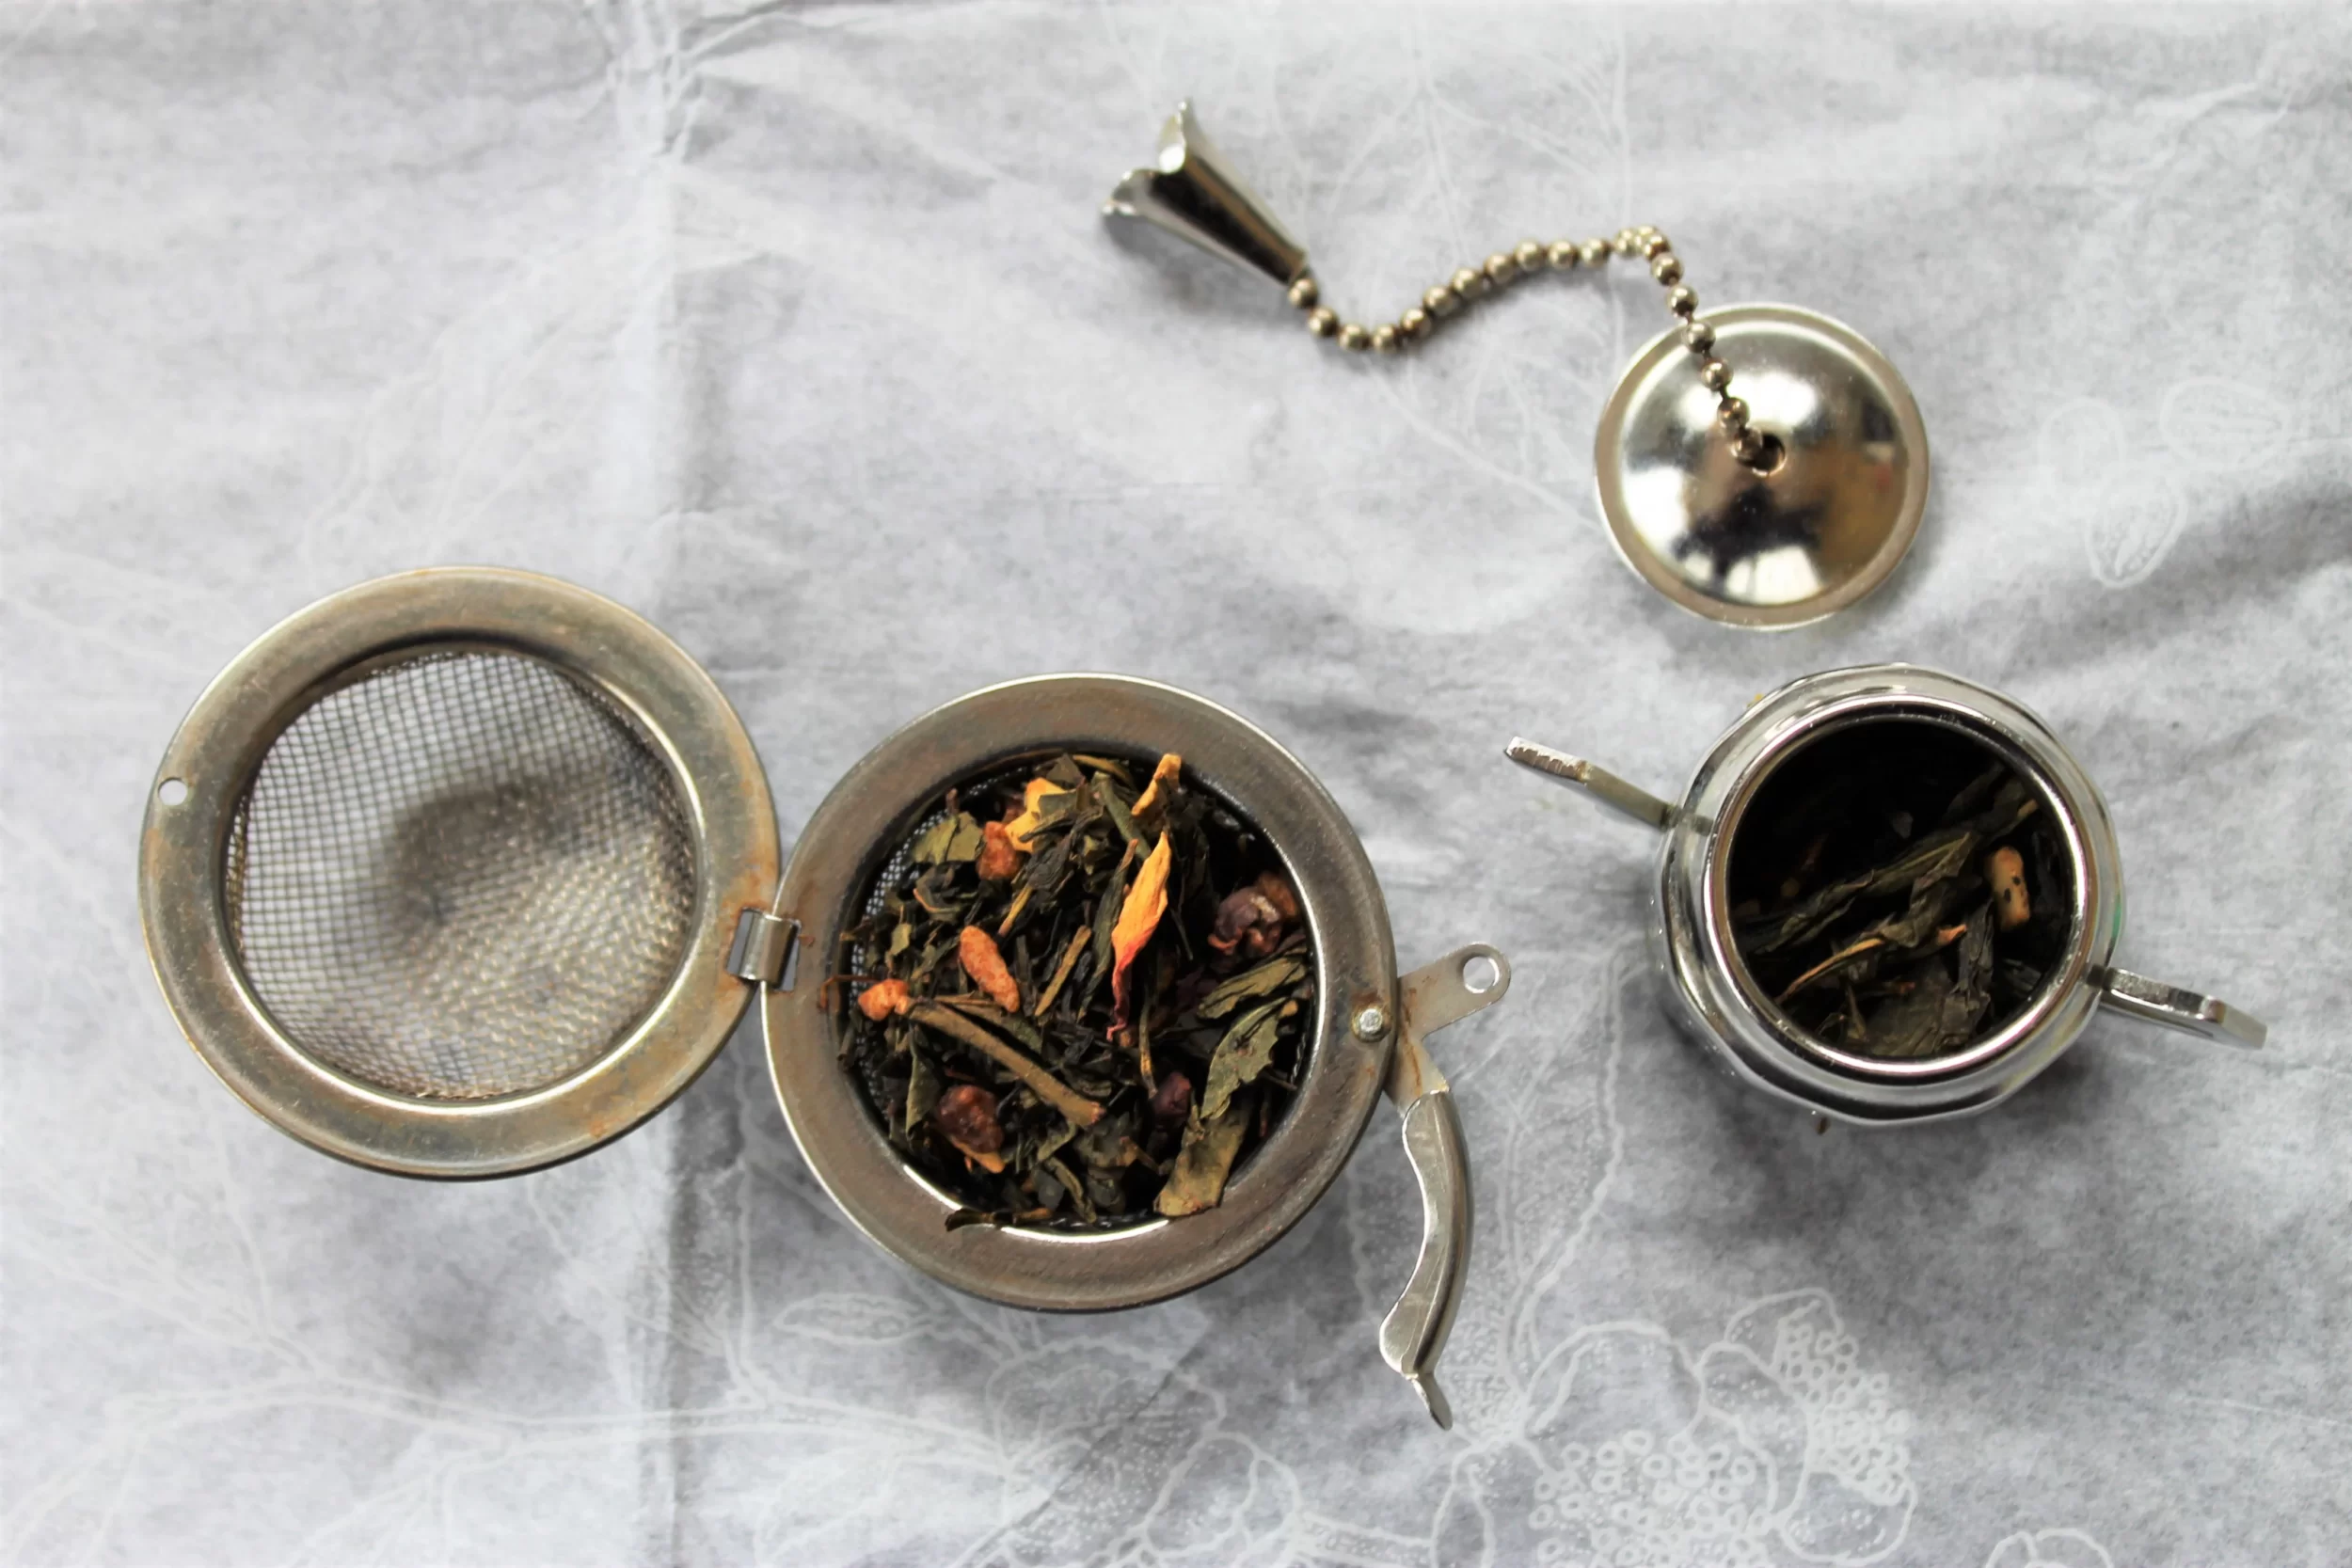
Method 2: Metal Mesh Infuser (Fine Tea Compatible)
- Best for: brewing a quick and easy cup for 1
- Equipment needed: mesh infuser, mug, tea
- Approximate cost: under £5
The globe offers more space and has a much finer mesh, allowing it to hold finer tea leaves. The teapot sinks to the bottom of the mug with the chain resting over the lip – it’s more of a novelty than a practical infuser.
I have 2 types; one is a cute teapot, the other is a typical mesh ball. Just like the silicone infuser, you need to open, add your tea, close, hook over the side (like you would with a tagged teabag) and brew. The main reason I prefer Stewart the tea cat is he is low maintenance. He doesn’t rust and cleaning out the tea is much easier.
But if you want to avoid plastics altogether, you can find these mesh metal strainers on Amazon – like these bestsellers – or find cute ones at independent retailers. The teapot-shaped infuser shown in my photos is the Whittard Tea Party Infuser!
Pros
- Fine mesh allows superior infusion
- Tea leaves are fully submerged at the bottom of your mug
- Can, potentially, be used to brew a whole pitcher/pot
Cons
- Fine leaves (like rooibos) still escape
- Air bubbles are easily caught, limiting space
- Chains are prone to breaking mid brew
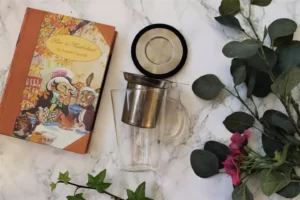
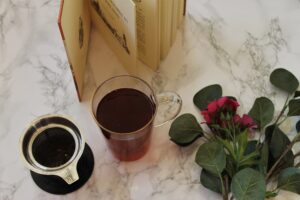
Method 3: Mug Infuser Set (Best for Daily Use)

Best for: regular loose leaf tea drinkers
Equipment needed: all-in-one infuser mug set, tea
Approximate cost: £20 to £30
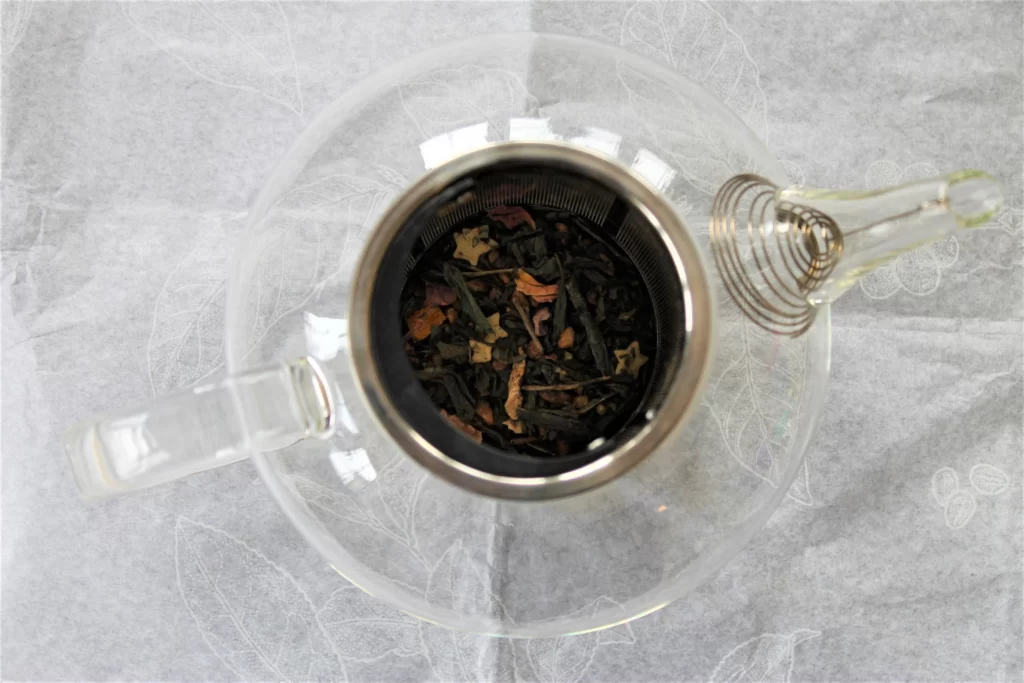
The contraption pictured above is Whittard’s Pao Mug Infuser, which is a glass mug that comes with an infuser basket and a lid made especially to fit with it. This gives your tea leaves the space to unfurl and brew freely, like a teapot, without the hassle of brewing a huge serving and cleaning out the spout afterwards.
If you want to drink loose leaf regularly and want the most convenient way to do it, this is my top choice. Cleaning it is easy and, as a bonus, the infuser basket fits inside any mug you want – you aren’t limited to the mug it comes with.
You can find the pao infuser mug at Whittard of Chelsea, but many tea brands offer similar alternatives.
Pros
- Very easy to use and clean up
- Works with any mug you want to use
- Plenty of space for your tea to unfurl completely
Cons
- Bulky to store
- Gets hot to the touch when you’re removing it
- Most aren’t dishwasher safe
Method 4: Teapot with Infuser Chamber (Multiple Servings)
Best for: brewing tea for multiple people
Equipment needed: teapot, infuser basket, tea, cups
Approximate cost: £30 to £50 (for good quality)
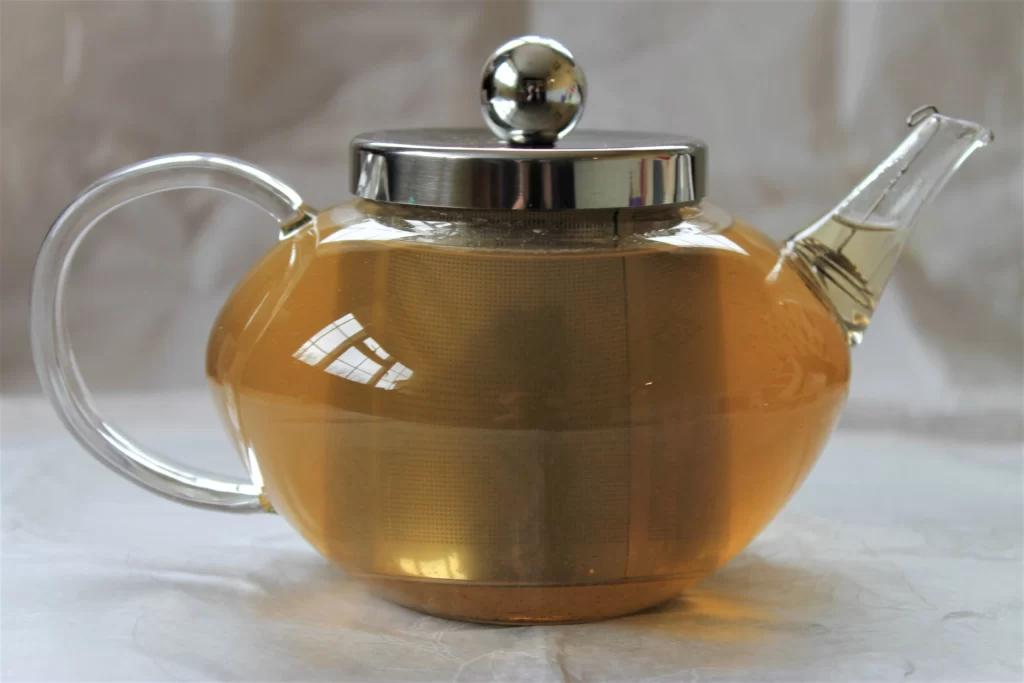
Most modern teapots, especially glass teapots, will have a removeable metal chamber in the centre. This is the easiest way to brew loose leaf tea for multiple servings. It’s the convenient choice.
1 teaspoon of tea leaves per person, plus one for the pot. Alternatively, you can measure how much water your teapot holds and calculate the amount of tea needed in grams via the packet instructions.
Rinse your teapot with hot water so it’s warm, then add your tea to the centre chamber and place it in the teapot. Fill with hot water and leave it to brew. Pour and serve.
If your teapot didn’t come with an infuser, you can buy them on Amazon here.
Pros
- Can be removed like a single serve infuser once at optimum strength
- Fine mesh prevents any tea leaves from getting into your pot
- Plenty of space for your tea to unfurl completely
Cons
- Longest brew time of all methods
- Can’t monitor how brewed the tea leaves are
- Needs immediate clean up, not dishwasher suitable
Method 5: Traditional Teapot Method (For Tea Ceremonies)
- Best for: tea ceremonies
- Equipment needed: glass teapot, strainer (spout or over-cup)
- Approximate cost: £30 to £50 (but works with any teapot, not just glass ones)
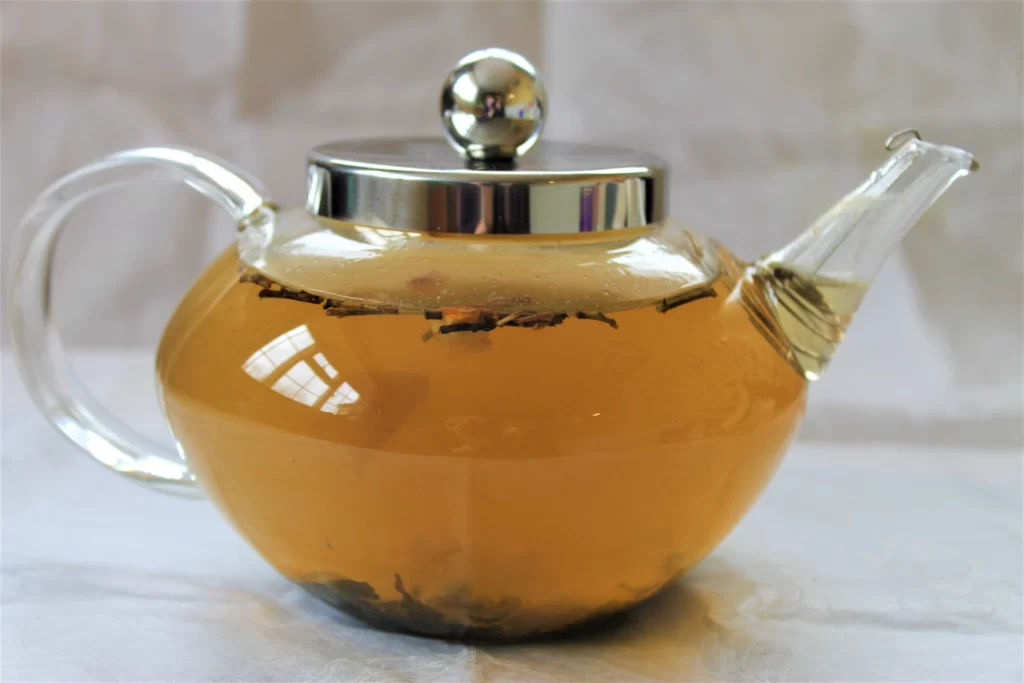
If you’ve got a glass teapot and time on your hands, or just want to put on a show for friends, this option should be your first choice for brewing loose leaf tea. Removing the central chamber from your tea pot, you’ll have a vast empty space to peer into.
Add your tea leaves (the same quantity as The Chamber Multi Serve), add water, watch the show!
When it comes to serving the tea, you need a handy metal filter at the spout, or a filter you can hold over each teacup to pour into.
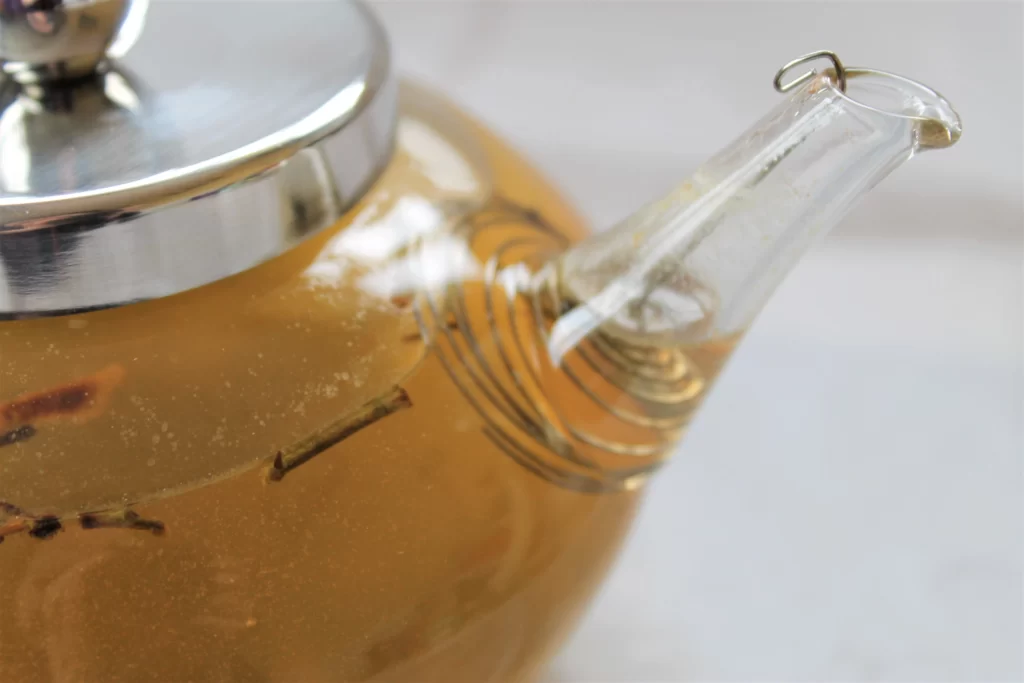

If you’ve got neither, try a paper coffee filter as a last resort.
Pros
- Beautiful to watch, especially with blooming tea
- Best way to monitor brew strength
- Leaves can unfurl with plenty of space to brew
Cons
- Cleaning leaves out of the teapot spout is a nightmare
- Pointless if your teapot isn’t made of glass
- Those leaves will keep brewing, so drink that tea quickly!
Common Questions About Brewing Loose Leaf Tea
Use 1 teaspoon (about 2g) of loose leaf tea per cup. For stronger tea, either use more tea leaf or brew for longer.
If your tea doesn’t come with instructions, brew like this. Black tea: 3 to 5 minutes, Green tea: 2 to 3 minutes, Herbal tea: 5 to 7 minutes. Remove the infuser when done to prevent the flavour getting too strong.
Yes! Good quality loose leaf tea can be brewed 2 or 3 times. Further brews may be a bit milder but still flavourful. As a general rule, reuse your tea leaves all day but don’t let them sit overnight. Start fresh again the next day.
No. While tea infusers make it easier, you can brew loose leaf tea in any container and then pour it into a mug through any kind of strainer – coffee filter, flour sieve, or even a cheesecloth – to remove the leaves.
I hope you’ve found this article useful! If you have any questions or need advice on which tea infuser is right for you, leave me a comment and I’ll be happy to help.